



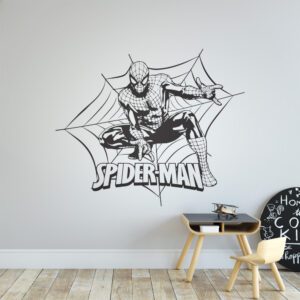


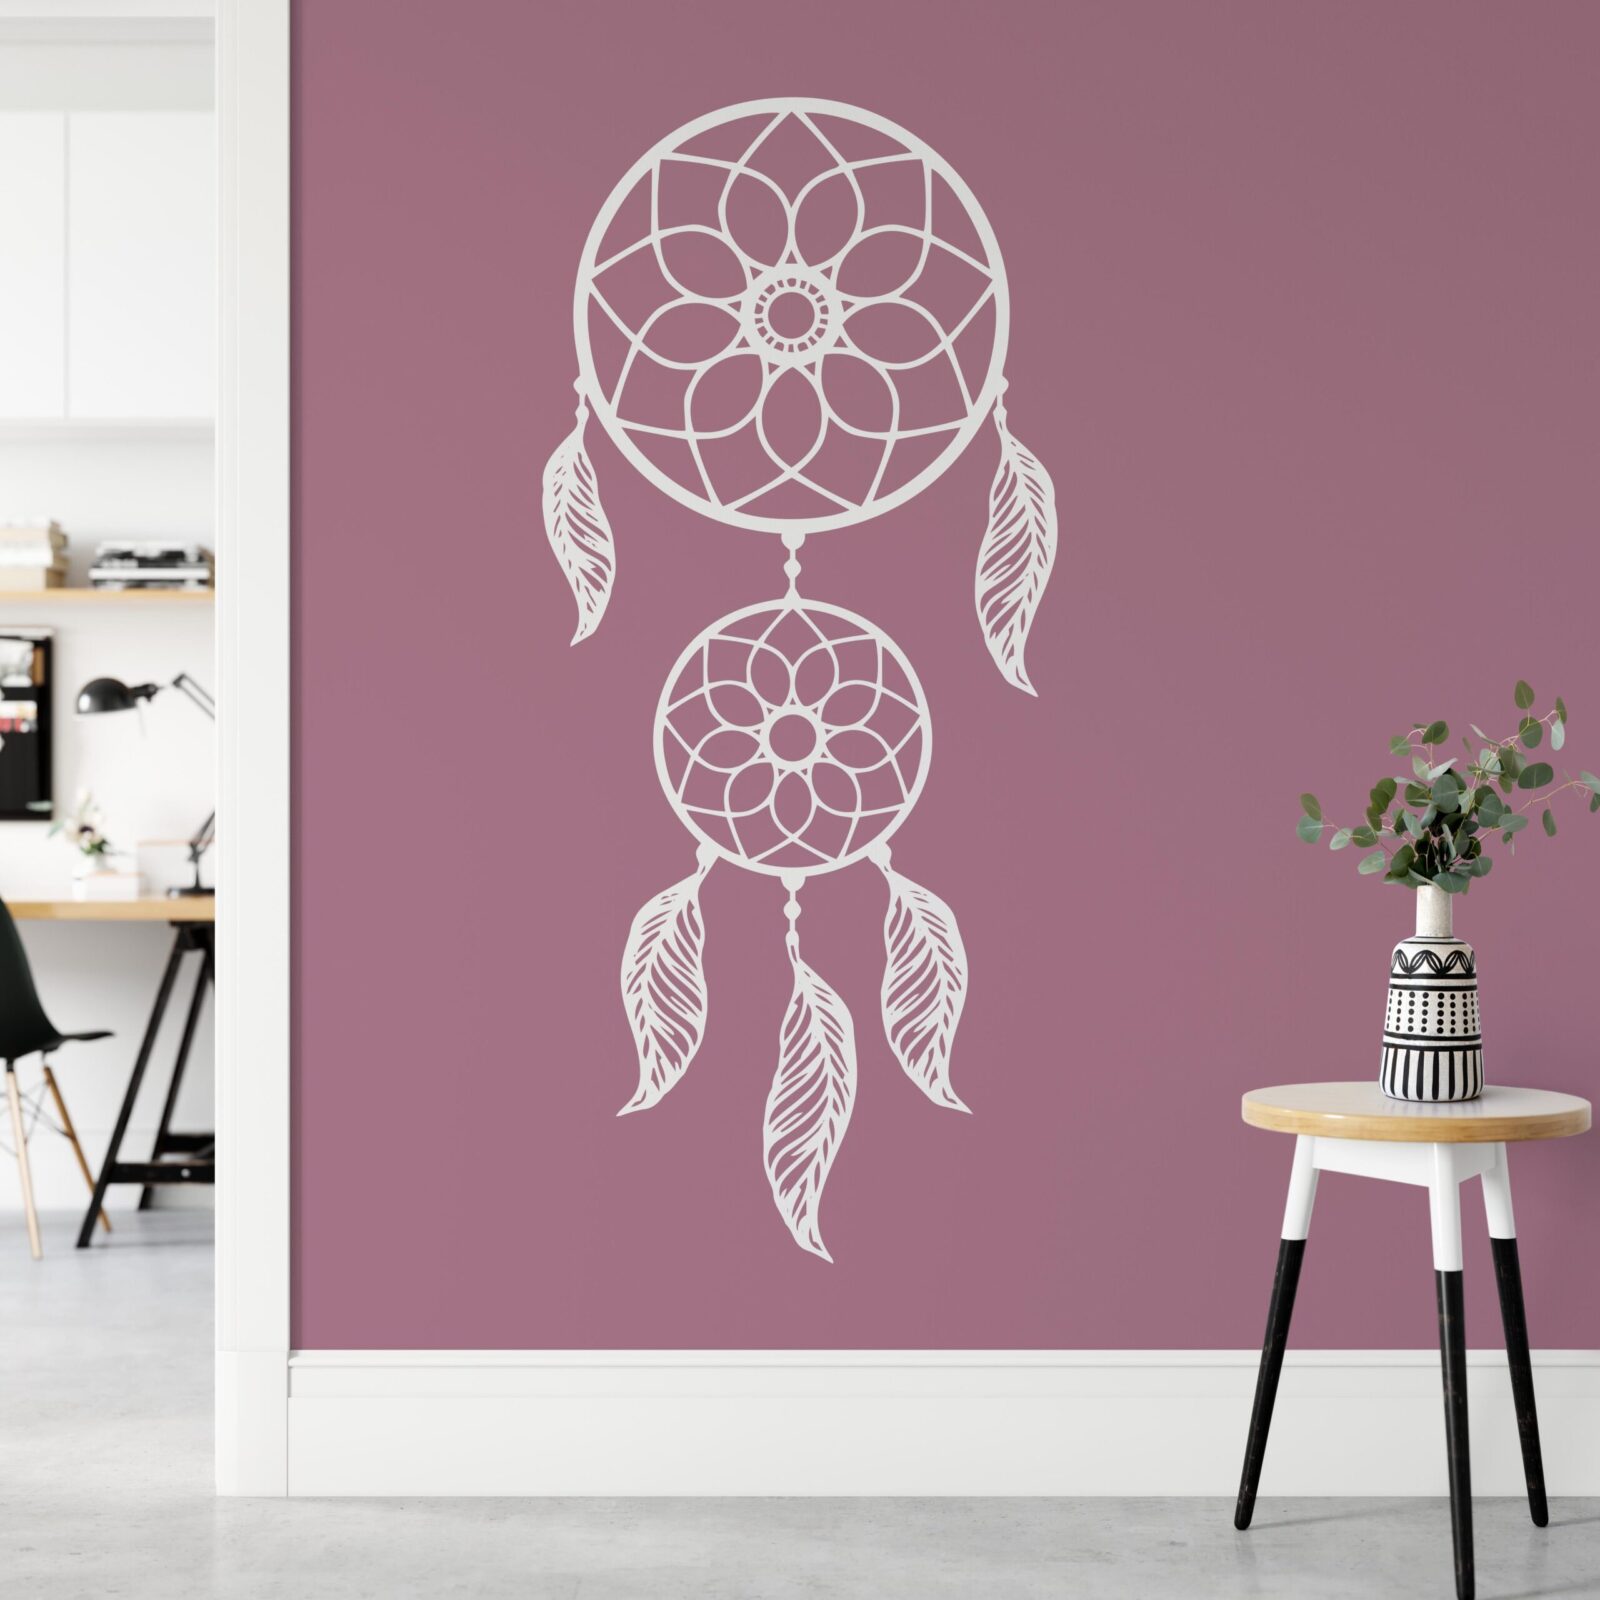
Dream catcher wall sticker ideas can bring a calm, bohemian focal point to a bedroom, nursery or reading corner without making the wall feel busy. Because Apex designs are cut from one-colour self-adhesive vinyl, most have no clear, white or printed background. Once applied, the individual shapes sit directly on the surface for a clean, painted-on look.
The most effective result comes from matching the decal’s scale, colour and detail to the room. A large design can anchor a bed or chest of drawers, while a smaller motif can give a quiet corner more character. This guide covers practical layout ideas, preparation, application and the trade-offs to consider before choosing a design.
Quick answer: which dream catcher wall sticker idea works best?
For a balanced bedroom feature, choose one medium-to-large dream catcher centred above a low piece of furniture, with enough empty wall around it to show the outline clearly. Dark navy, charcoal or black creates strong contrast on pale walls, while softer colours produce a gentler effect but need sufficient contrast to remain visible.
Choose the style according to the room:
- Minimal bedroom: one simple hoop with clean feather details.
- Boho bedroom: a more intricate dream catcher paired with natural textiles and restrained botanical accessories.
- Nursery: a soft, simple design placed away from the cot and outside a child’s reach.
- Reading corner: a compact decal above a chair, book ledge or small cabinet.
- Feature wall: a larger design that occupies roughly one-third to one-half of the available wall area without crowding nearby furniture.
Dream catcher wall sticker ideas by room and style
Before ordering, decide whether the sticker should be the main focal point or a supporting detail. This affects the size, position and amount of surrounding décor you need.
1. Create a calm focal point above the bed
A single dream catcher above the headboard is one of the clearest arrangements. Centre it with the bed rather than the entire wall, especially if the bed is offset by a wardrobe or doorway. Leave a comfortable gap above the headboard so the feathers do not appear to touch the furniture.
For a calm scheme, combine a dark navy or charcoal decal with white bedding, warm grey cushions and one muted accent colour. Avoid adding several framed prints around an intricate sticker; empty space helps the cut-vinyl detail remain legible.
2. Style a boho dressing area
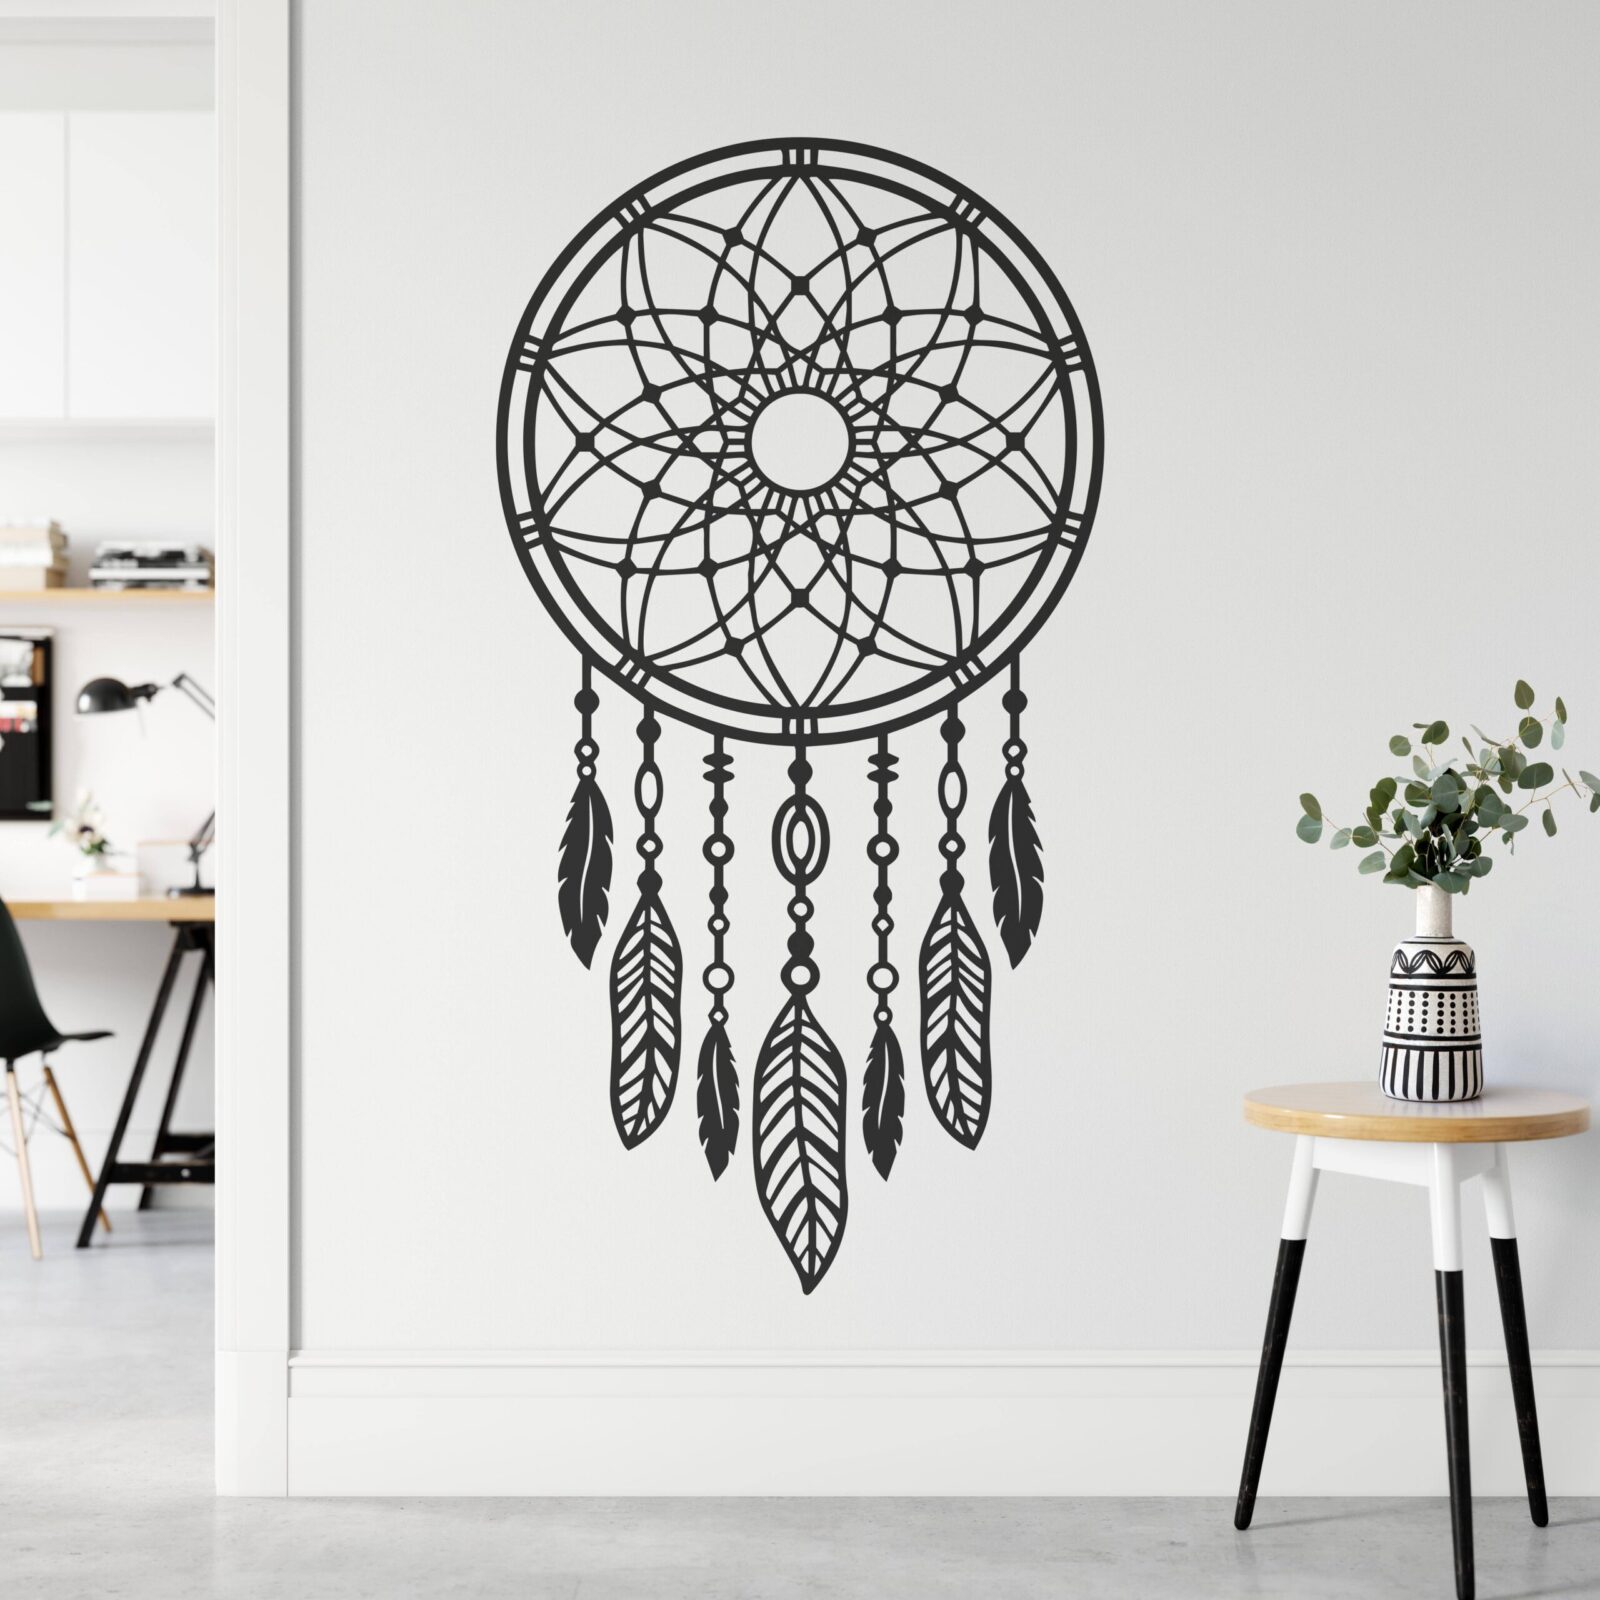
Apply a medium design above a chest of drawers or dressing table, then echo its curved shapes with a round mirror, woven basket or softly shaped lamp. Keep the surrounding accessories asymmetrical but visually balanced. If you prefer a broader mix of feathers, botanical forms and free-flowing motifs, explore the boho wall stickers collection.
3. Add a gentle nursery accent
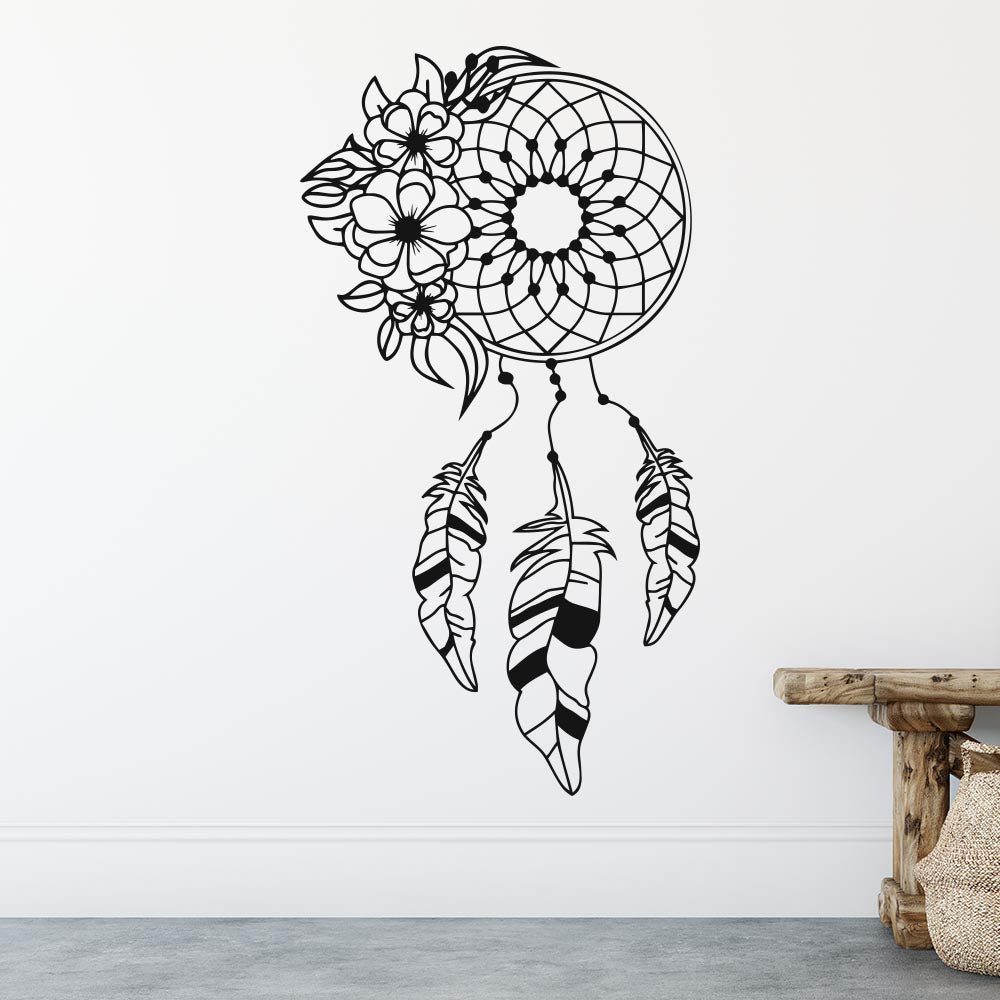
A dream catcher can suit a nursery when the design is simple and the placement is considered. A small-to-medium decal works well above a drawer unit, reading nook or another area away from the cot. Position every part beyond a child’s reach and do not apply stickers to loose, flaking or damp surfaces.
Use a decal colour that contrasts with the wall rather than relying on very pale, fine details. The result should be visible from the doorway without overwhelming the room’s softer furnishings.
4. Define a reading or relaxation corner
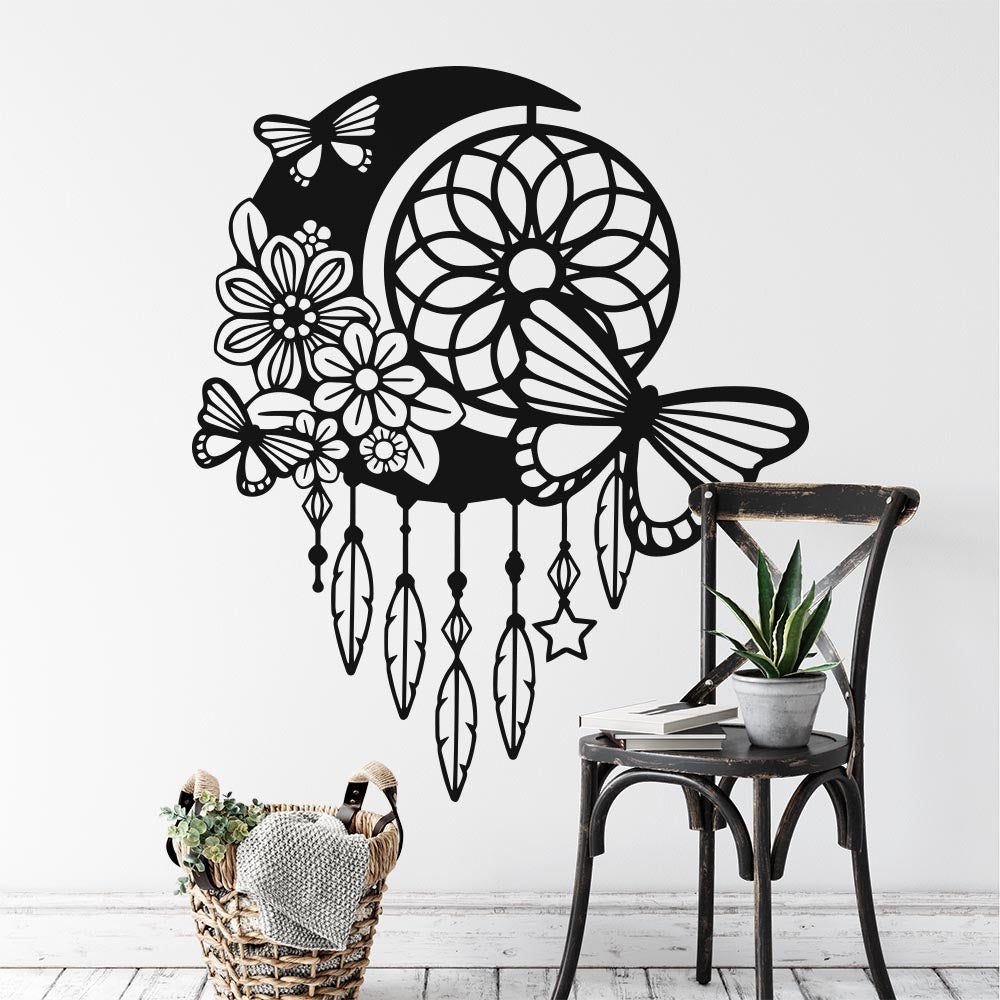
A compact dream catcher above an armchair can visually mark out a quiet corner in a bedroom, living room or home office. Align the design with the chair and side table as a small group. Warm lighting, a plain cushion and one plant can complete the arrangement without competing with the wall.
5. Use symmetry for a polished look
For orderly interiors, centre the hoop over a console, bed or cabinet and align its vertical line with the furniture’s midpoint. Symmetry works particularly well when the dream catcher has evenly spaced feathers. Check alignment from the room entrance, not only from directly in front of the wall.
6. Choose a mandala-inspired design
If you like the circular detail of dream catchers but want less emphasis on feathers, a mandala may provide a more architectural alternative. Compare the available mandala wall stickers with dream catcher designs before deciding. Mandalas tend to feel structured and centred; dream catchers usually create more vertical movement.
What you need before you start
- Your chosen dream catcher wall sticker
- A clean, smooth, dry wall
- A soft, lint-free cloth
- Low-tack masking tape for temporary positioning, if appropriate for your paint
- A pencil for very light reference marks
- A plastic application card or similar smooth, firm edge
- A spirit level or measured reference points
- Another person for a large or intricate design
Check the surface before application. Wall stickers work best on smooth, clean, dry surfaces. Texture can prevent fine details from making even contact, while dust, grease or moisture can weaken adhesion. Freshly painted walls should cure before applying stickers; follow the paint manufacturer’s stated curing time rather than assuming that touch-dry paint is ready.
Measure the actual usable wall area, allowing for the headboard, sockets, shelving and furniture. Then compare those dimensions with the full decal size. Fine feathers and hanging details need breathing room, so do not choose a design that only just fits.
How to apply a dream catcher wall sticker
Step-by-step application checklist
- Check the wall — make sure it is smooth, clean, dry and fully cured.
- Plan the position — hold the complete design against the wall and assess it from across the room.
- Mark reference points — lightly mark the centre and top position without drawing around the decal.
- Prepare the vinyl — place it on a flat surface and gently press the application layer so every detail is held securely.
- Apply gradually — follow the supplied directions, working slowly from one area and smoothing outward.
- Press fine details — pay particular attention to feathers, strings and narrow curved sections.
- Remove the application layer — peel it back slowly at a low angle, checking that the vinyl remains on the wall.
- Inspect the result — gently press any lifted edges and avoid disturbing the decal immediately after application.
Step 1: assess the wall in daylight
Run a clean hand lightly over the intended area. Look for dust, raised paint, moisture, cracks and strong texture. Clean the surface appropriately and allow it to dry completely. Do not use the sticker to conceal unstable paint, damp patches or surface damage.
Step 2: test the composition
Temporarily hold the unpeeled decal in position. Stand at the doorway and at the main viewing point, such as the foot of the bed. Check that the design relates to the furniture below it and that the lowest feathers have a clear gap from the headboard or cabinet.
Step 3: establish a reliable centre line
Measure the furniture rather than guessing by eye. Mark its midpoint lightly, then align the visual centre of the dream catcher with it. The design’s outer sheet may not represent its visual centre, so use the main hoop as your reference.
Step 4: prepare intricate sections
Dream catcher decals can contain narrow strings and feather details. Before peeling, press across the application layer on a flat surface. This helps the separate vinyl elements transfer as intended. Work carefully rather than applying heavy force.
Step 5: apply in controlled sections
Follow the directions supplied with the sticker. Keep the material controlled and smooth progressively instead of exposing the entire adhesive side at once. For a larger design, ask another person to support the unapplied section so it cannot fold back onto itself.
Step 6: reveal the cut-vinyl finish
Remove the application layer slowly and at a low angle. Pause if part of the design lifts, return the layer to the wall and press that section again. Once complete, the wall colour should show through the open parts of the design because the light details are negative space, not printed white areas.
How to choose the right size and colour
Size should be based on the available space and viewing distance. A sticker above a double bed generally needs more presence than one above a narrow bedside cabinet. Use paper templates or measured masking-tape reference points to visualise the outer dimensions before buying, provided the tape is suitable for your paint.
- Small: best for reading corners, narrow wall sections and compact furniture.
- Medium: a versatile choice above drawer units, desks and single beds.
- Large: better for double beds and uncluttered feature walls, assuming the full design has generous clearance.
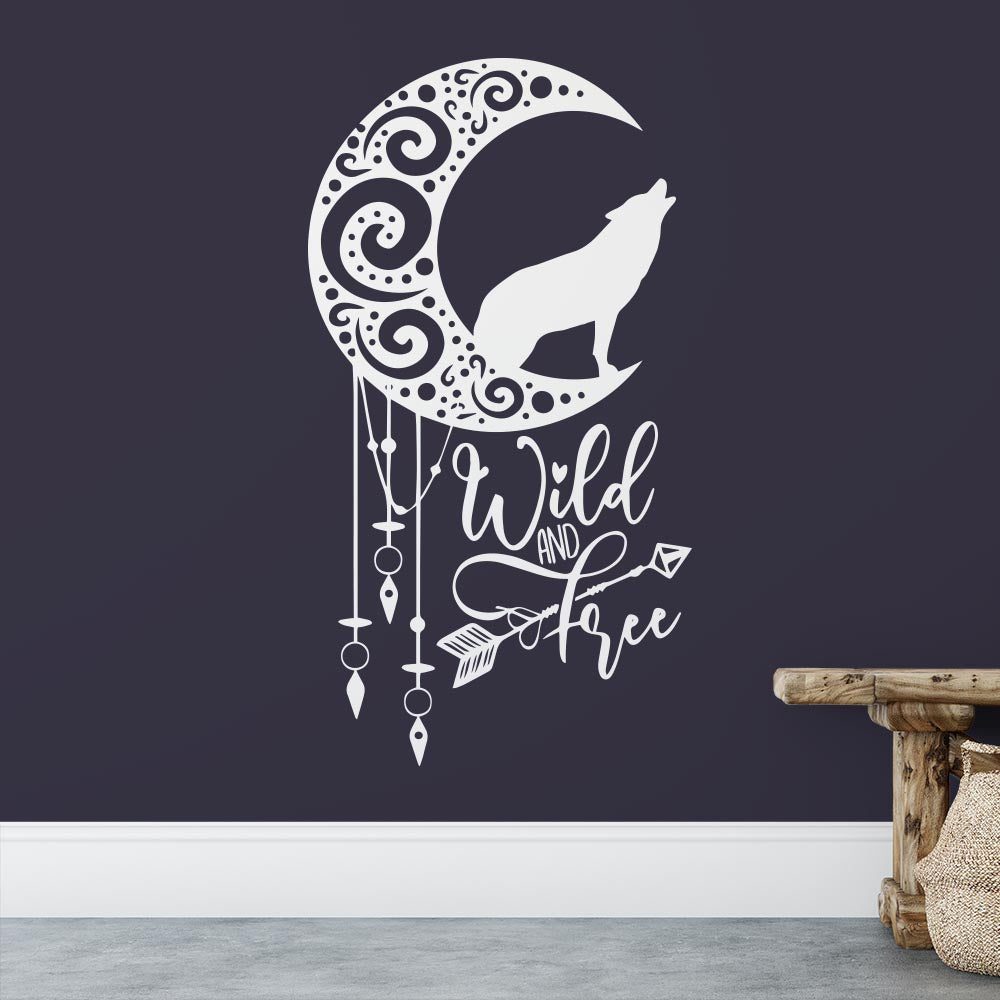
Colour is both an aesthetic and practical decision. Black offers the strongest graphic effect, dark navy feels slightly softer, and charcoal can bridge modern and bohemian schemes. Mid-tone or pale vinyl can look subtle, but low contrast may make fine strings and feather edges disappear from across the room.
To compare styles and proportions, browse the dream catcher wall stickers collection and check each design’s dimensions against your measured wall space.
Common mistakes to avoid
Choosing a sticker that is too small
A tiny decal can look disconnected above a wide bed or long cabinet. Measure the furniture and consider how much of its width the design should visually occupy. It does not need to match the furniture width, but it should feel intentionally proportioned.
Crowding intricate details
Frames, shelves and hanging plants placed close to the feathers can make the arrangement feel confused. Give a detailed dream catcher more clear wall than a simple geometric decal.
Applying to unsuitable paint or texture
Rough plaster, heavily textured paint, chalky finishes, loose paint and damp walls can affect adhesion. Surface condition and paint quality also influence later removal. Removal results depend on wall condition, paint quality and how carefully the sticker is removed.
Applying before fresh paint has cured
A newly painted wall may feel dry while the coating is still curing. Applying too early can cause poor adhesion or affect the finish. Follow the paint manufacturer’s curing guidance.
Positioning it too high
A common mistake is placing the design near the ceiling because the wall looks empty while you are standing close to it. Judge the layout from normal viewing positions. Above furniture, the decal should connect visually with the furniture rather than float far above it.
Mixing too many competing themes
Dream catchers already carry feathers, curves and ornamental detail. Combining them with busy patterned wallpaper, multiple slogans and dense gallery walls can dilute the calm look. Choose one leading motif and keep the supporting décor restrained.
When to choose a different product or approach
A dream catcher is not the best answer for every room or surface. Consider another approach when:
- The wall is heavily textured: framed artwork may sit more reliably than fine cut-vinyl details.
- The paint is unstable or flaking: repair and redecorate before considering any adhesive décor.
- You want a repeating all-over pattern: a single decal creates a focal point rather than a wallpaper effect.
- You prefer strict geometry: a mandala or abstract geometric sticker may better suit the room.
- The wall lacks contrast: choose a stronger vinyl colour, another wall or non-adhesive décor.
- You expect frequent repositioning: self-adhesive cut-vinyl stickers are intended for considered placement, not repeated movement between walls.
- The area is exposed to persistent moisture or heat: choose a more suitable location and check the conditions before applying.
For rooms with a relaxed but less literal theme, the wider boho wall sticker range may offer more flexible botanical, celestial or ornamental options.
Frequently Asked Questions
Where should a dream catcher wall sticker go in a bedroom?
Above a bed, chest of drawers or reading chair are practical choices. Align it with the furniture and leave clear space around the full design. Check that it is away from heat, moisture and areas where it may be repeatedly rubbed.
Can I apply one to a freshly painted wall?
Not immediately. Fresh paint must cure before a wall sticker is applied. Use the paint manufacturer’s stated curing time, as touch-dry and fully cured are not the same.
Do dream catcher decals have a clear background?
Most Apex wall stickers are cut from one-colour vinyl and have no clear, white or printed background. The wall remains visible between the design elements, helping the sticker look painted on.
Will a wall sticker work on a textured wall?
Results vary with the depth and type of texture. Fine dream catcher details work best on smooth, clean, dry surfaces because strings and feather tips need consistent contact. A strongly textured wall may require a different décor approach.
How do I remove a dream catcher wall sticker?
Work slowly and carefully, following any product guidance provided. Avoid pulling abruptly. Removal results depend on wall condition, paint quality and how carefully the sticker is removed.
Find a dream catcher design for your room
The best design is one that suits both your wall and the mood you want to create. Measure the space, check the surface, compare the decal colour with the wall and leave enough open area for the fine detail to stand out.
If you are planning a calm bedroom, nursery or reading-corner update, browse the dream catcher wall stickers collection for self-adhesive, one-colour designs that work best on smooth, clean, dry walls.