

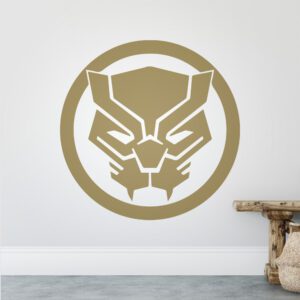
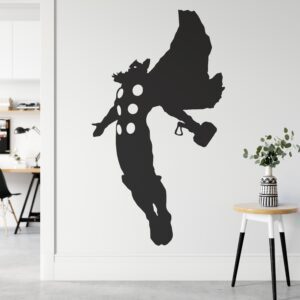

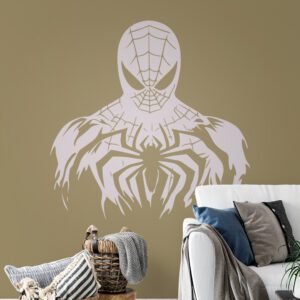

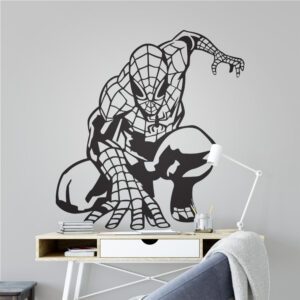
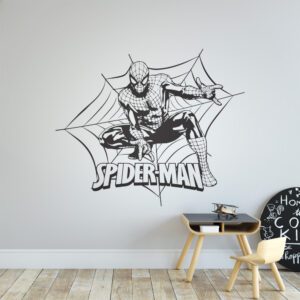


Small gaming room wall décor ideas work best when they add personality without making limited space feel crowded. In a compact gaming bedroom, box room or desk corner, the wall is often the largest available decorating surface. A carefully sized wall sticker, controlled colour palette and a few functional accessories can create a distinctive gaming setup while preserving valuable floor and desk space.
The key is restraint. Rather than filling every wall with framed prints, shelves and lighting, choose one clear focal point and support it with smaller details. Single-colour vinyl graphics are particularly useful because they apply directly to a suitable surface and have no bulky frame or poster-like background. Most Apex designs have no clear, white or printed background, giving them a clean, painted-on appearance once applied.
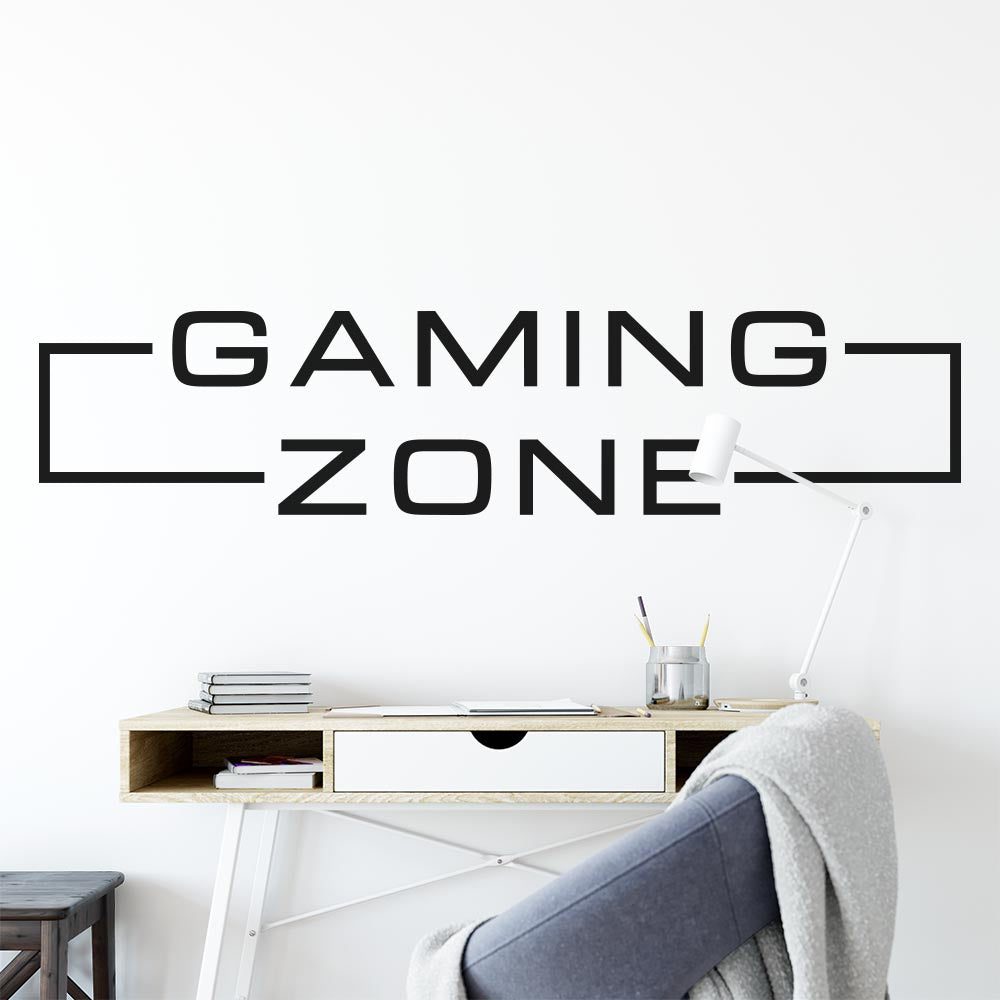
Quick Answer: How Should You Decorate a Small Gaming Room?
Start with the wall above or beside the gaming desk. Choose one medium-to-large gaming wall sticker that can be seen clearly from the doorway, then repeat its colour in two or three practical items such as a desk mat, storage box or cushion. Keep shelves shallow, route cables neatly and avoid spreading unrelated graphics across every wall.
For most small rooms, the strongest arrangement is:
- One main wall graphic covering roughly one-third to one-half of the usable wall area above the desk.
- One restrained colour scheme featuring two neutrals and one accent colour.
- Vertical storage that keeps controllers, headsets and accessories off the desktop.
- Soft indirect lighting rather than several exposed, competing light sources.
- Clear areas of wall around the focal graphic so the room does not feel visually cramped.
If you already know the look you want, explore the gaming wall stickers collection for self-adhesive, single-colour designs suited to gaming bedrooms and desk setups.
What You Need Before You Start
You do not need to replace all your furniture to improve a small gaming room. Begin by checking the space, the wall and the items you already own.
Measure the usable wall area
Measure the clear width and height above the desk, bed or storage unit. Exclude monitors, shelving, sockets, sloping ceilings and anything that could cover part of the design. A wall sticker should relate to the furniture below it rather than appearing to float in an unrelated part of the wall.
As a general visual rule, a graphic above a gaming desk can occupy around 50–75% of the desk width. A very small design may disappear behind monitors, while an oversized design can make the wall feel compressed. Use paper templates or low-tack markers to preview the outer dimensions before choosing a size.
Check the surface
Wall stickers work best on smooth, clean, dry surfaces. Dust, grease, damp, loose paint and heavily textured finishes can affect adhesion. Freshly painted walls should be allowed to cure fully according to the paint manufacturer’s guidance before a sticker is applied.
Surface condition and paint quality also affect future removal. Removal results depend on wall condition, paint quality and how carefully the sticker is removed.
Choose a simple colour direction
Small gaming rooms usually look calmer with a limited palette. Try dark navy, charcoal or black graphics on a white, pale grey or soft neutral wall. If your equipment already includes strong RGB lighting, keep the permanent wall décor neutral so you can change the lighting colour without creating a clash.
| Room situation | Useful décor direction | Trade-off |
|---|---|---|
| Narrow desk wall | Wide, low graphic or horizontal geometric layout | Avoid placing key details behind tall monitors |
| High but compact wall | Stacked icons or vertical abstract design | Do not position the design too close to the ceiling |
| Shared bedroom | One defined gaming zone above the desk | The design should still suit the wider room |
| Dark room | High-contrast graphic on the lightest wall | Black decals may be less visible on deep paint colours |
| Busy equipment setup | One simple silhouette with plenty of open wall around it | Highly detailed graphics can compete with screens and lighting |
Step-by-Step Small Gaming Room Wall Décor Plan
Compact gaming room checklist
- Choose the viewing wall — prioritise the wall above or beside the gaming desk that is visible when entering the room.
- Measure around the equipment — record the clear space left after allowing for monitors, shelves and sloping ceilings.
- Select one visual theme — use a controller, headset, geometric gaming symbol or restrained quote-style layout rather than mixing several themes.
- Test the scale — create a paper outline matching the proposed sticker dimensions and view it from the doorway and gaming chair.
- Prepare the surface — make sure the wall is smooth, clean, dry and free from loose paint or dust.
- Apply the focal graphic — follow the application instructions and work carefully across the design.
- Add practical accents — finish with cable control, headset storage and one or two repeated accent colours.
Step 1: Decide where the eye should land
Stand at the doorway and note which wall you see first. In many small gaming rooms, this will be the area behind the gaming desk. Making that wall the focal point gives the room an intentional layout and prevents you from feeling that every empty corner needs decoration.
If the monitors hide most of the wall, consider placing the design slightly to one side or choosing a wider composition that remains visible around the screens. Keep important shapes clear of shelves, monitor arms and the edge of the ceiling.
Step 2: Pick one gaming theme
A compact room benefits from a recognisable but uncomplicated theme. Controller silhouettes, headset graphics, angular lightning forms and abstract gaming symbols can communicate the purpose of the room without resembling a collage of merchandise.
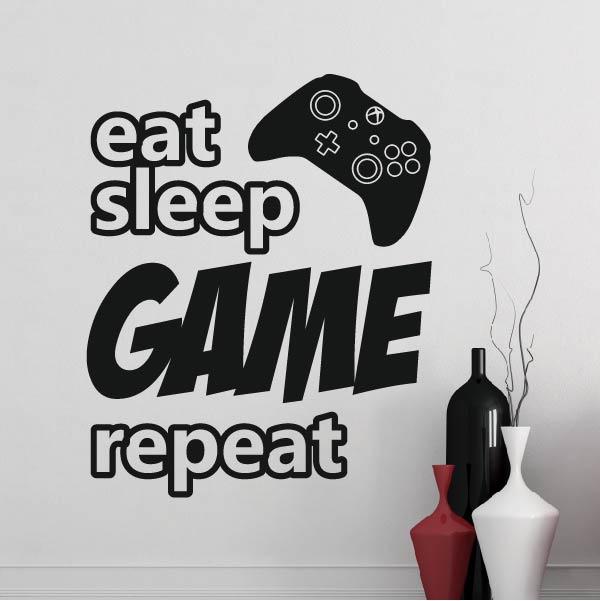
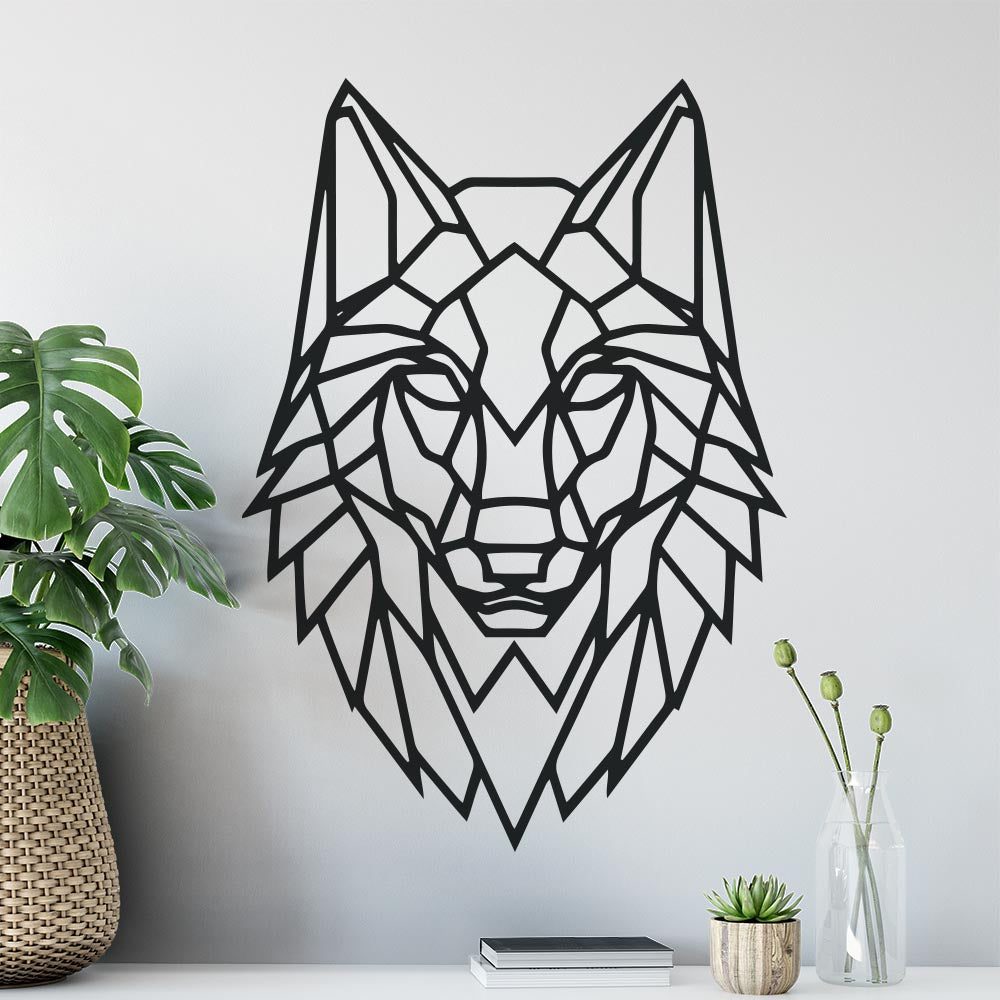
If your setup has a modern, technical look, browse geometric and polygonal wall stickers. Angular forms work well with desk frames, monitor stands and LED lines. Alternatively, a short motivational design from the quote wall stickers collection can suit a combined gaming and study area. Remember that cut-vinyl quote designs use the wall itself as the background rather than a printed rectangular panel.
Step 3: Test the size before ordering
Make a paper template or mark the proposed outer corners lightly with removable paper markers appropriate for your surface. Sit in the gaming chair, stand in the doorway and check the template from the bed if the room is also a bedroom.
The design should feel connected to the desk but should not be squeezed tightly between the monitor and ceiling. Leave breathing room on every side. If choosing between two sizes, base the decision on the uninterrupted wall area rather than the total room width.
Step 4: Balance the graphic with lighting
Lighting should support the wall décor rather than obscure it. A soft glow behind the monitor can separate the desk from the wall, but very bright lighting directly across vinyl may create glare. If you use colour-changing lights, choose a neutral decal colour such as dark navy, black or charcoal so it remains coherent as the lighting changes.
Avoid placing light strips around the exact outline of a sticker. This can make the arrangement feel like a temporary sign and adds more cables to manage. A single line beneath a shelf or behind the desktop usually looks cleaner.
Step 5: Prepare and apply the wall sticker
Before applying a sticker, remove dust from the wall and make sure the surface is completely dry. Do not apply over peeling paint, damp patches or unstable finishes. Textured walls can reduce contact between the adhesive and the surface, particularly around thin lettering, small geometric points and separate components.
Follow the full quick wall sticker application guide for preparation, positioning and transfer steps. Take extra care around thin lettering, small geometric points and separate components.
Step 6: Add storage that doubles as décor
Once the focal graphic is in place, add only items that earn their space. A headset hook, narrow controller shelf or pegboard can help the room look organised while keeping the desktop available. Match these items to the decal or desk frame so they feel like part of one plan.
Closed storage is useful for spare cables, cases and charging accessories. Too many exposed items can make even a well-planned gaming wall feel untidy. Keep frequently used equipment visible and store the rest.
Step 7: Review the room from outside the setup
Gaming décor is often planned while sitting at the desk, but the room also needs to work from the doorway and, where relevant, from the bed. Step back and check whether the arrangement has one obvious focal point. If the monitors, sticker, shelves and lights all compete equally, remove or simplify one element.
Common Small Gaming Room Décor Mistakes
Using several small graphics instead of one focal design
Scattering unrelated stickers and prints around a compact room can make the walls feel fragmented. One larger design usually creates a stronger result and leaves more deliberate negative space.
Choosing décor based only on total wall dimensions
The usable wall area matters more than the full measurement. Monitors, doors, radiators, shelves and sloping ceilings can substantially reduce the area in which a design will look balanced.
Placing the main design too high
A graphic close to the ceiling can feel disconnected from the gaming station. Position it in relation to the desk and eye line, with clear space above it. This is particularly important in rooms with high ceilings or low furniture.
Combining too many lighting colours
Multiple saturated colours can make a small setup look cluttered and can alter how the wall and sticker colours appear. Begin with one lighting colour or a controlled gradient, then adjust it after the permanent décor is complete.
Ignoring paint and surface condition
Applying vinyl over dusty, textured, damp or poorly bonded paint may lead to disappointing results. Inspect the wall first and choose another surface or décor approach if it is unsuitable.
Covering every available wall
Empty space is an important part of the design. It gives the eye somewhere to rest and makes the selected gaming feature appear more prominent. You do not need to decorate above the bed, behind the desk and beside the door at the same time.
When to Choose a Different Product or Approach
A self-adhesive vinyl wall sticker is not the right answer for every small gaming room. Consider another approach in the following situations:
- The wall is heavily textured: framed artwork, a freestanding display or décor placed on furniture may be more appropriate.
- The paint is loose or unstable: address the wall condition before applying adhesive décor.
- The room has recurring damp: resolve the underlying issue rather than covering the affected area.
- You frequently change games and themes: use neutral geometric décor and change smaller desk accessories instead.
- The available wall is hidden by monitors: improve lighting, cable management or shelf styling rather than forcing a graphic into a narrow gap.
- You want detailed multicolour artwork: one-colour cut vinyl will not create the same effect as a printed illustration, mural or framed print.
- You cannot allow painted walls to cure: wait until the recommended curing period has passed or use non-wall décor temporarily.
For rented rooms, confirm what changes are permitted and assess the surface carefully. Do not assume every painted wall will respond in the same way to adhesive products or removal.
Create a Clear Focal Point for Your Gaming Setup
The most effective small gaming room wall décor ideas are usually the simplest: one appropriately sized graphic, one consistent palette and storage that keeps the setup organised. If you are ready to define the area above your desk without adding frames or using floor space, browse our gaming wall sticker designs. They are cut from one-colour self-adhesive vinyl and work best on smooth, clean, dry walls.
Frequently Asked Questions
What size wall sticker is best above a gaming desk?
A useful starting point is a design measuring around 50–75% of the desk width, provided it fits within the clear wall area. Test the proposed dimensions with a paper template and make sure monitors will not hide important parts.
Which colours make a small gaming room look bigger?
Light or soft neutral walls generally keep a compact room feeling open. Use dark navy, charcoal or black for controlled contrast, then limit brighter colours to lighting and small accessories.
Can a gaming wall sticker be applied to a freshly painted wall?
No sticker should be applied until the new paint has fully cured. Dry-to-touch paint may still be curing beneath the surface, so follow the paint manufacturer’s stated curing guidance before applying vinyl.
Will a wall sticker work on a textured gaming room wall?
Wall stickers perform best on smooth, clean and dry surfaces. Texture reduces adhesive contact and may be especially noticeable around fine lines or small details. A framed print, shelf display or freestanding panel may be a better choice for heavily textured walls.
Can wall stickers be removed later?
They can be removed carefully, but results vary. Removal results depend on wall condition, paint quality and how carefully the sticker is removed.
For a compact update that keeps the floor and desktop clear, explore gaming wall stickers for your room and choose a design sized around your actual usable wall space.