

Applying a wall sticker should feel exciting, not stressful. You have chosen the design, picked the perfect spot and imagined how much better the room will look. Then the worry kicks in: what if it goes on wonky, traps bubbles or refuses to sit flat?
The good news is that bubbles are usually avoidable with the right preparation and a calm, steady approach. This guide explains how to apply wall stickers without bubbles, including how to prepare the wall, position the design, smooth it properly and fix small issues if they appear.
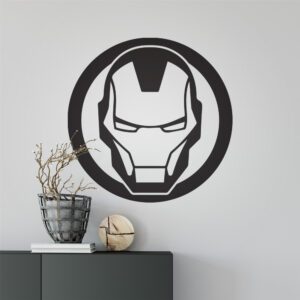
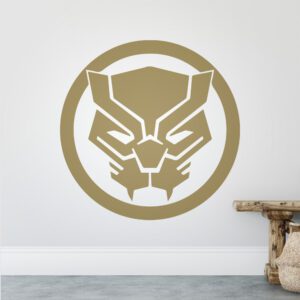
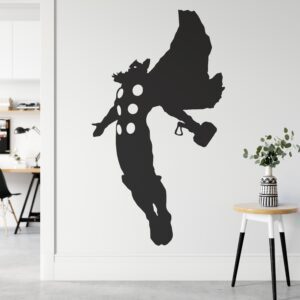
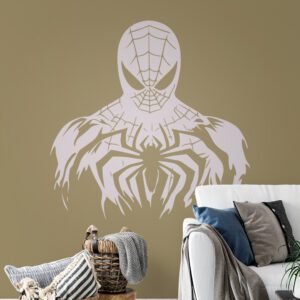
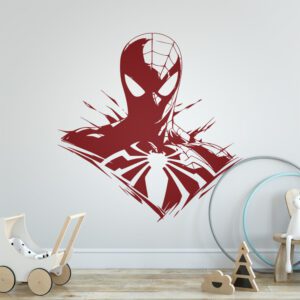
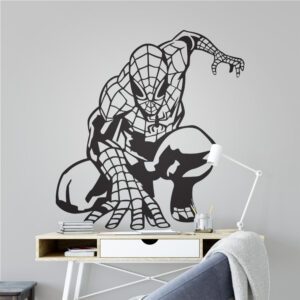
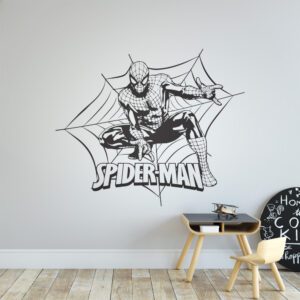
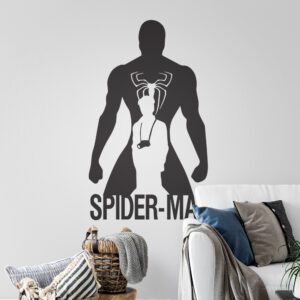
Apex wall stickers are cut from one-colour self-adhesive vinyl with no clear, white or printed background around the design. Once applied, they give a clean painted-on look, so taking a little extra care during application is worth it. A few minutes of prep can make the difference between a rushed finish and a wall sticker that looks sharp, smooth and properly part of the room.
Why bubbles happen when applying wall stickers
Bubbles usually happen when air gets trapped between the vinyl and the wall. This can be caused by applying too quickly, pressing from the wrong direction, using the wrong surface or not cleaning the wall first.
Sometimes bubbles appear because the wall itself is not suitable. Dust, damp, grease, flaky paint, heavy texture or freshly painted surfaces can all affect how well the vinyl sticks. Even a tiny amount of dust can stop part of the adhesive from bonding properly, which can lead to lifting or bubbling later.
The aim is simple: give the sticker a clean, smooth surface and apply it gradually so air has somewhere to escape as you work.
Start with the right wall surface
Wall stickers work best on smooth, clean, dry painted walls. A good surface gives the adhesive the best chance to bond evenly, which helps reduce bubbles and lifting.
Avoid applying wall stickers to rough plaster, heavily textured wallpaper, damp patches, dusty walls, peeling paint or surfaces with poor paint adhesion. The sticker may still stick in places, but it is much more likely to bubble, lift or show the texture underneath.
If the room has recently been painted, wait until the paint has properly cured before applying a sticker. Paint can feel dry to the touch long before it is ready for adhesive vinyl. Applying too soon can affect adhesion and may also make future removal more unpredictable.
If you are still choosing designs for a room, browse our wall stickers collection and think about where each design will sit before ordering. Smooth feature walls, spaces above beds, desk areas and clean painted doors are usually easier than awkward corners or textured surfaces.
Clean the wall before you start
Before applying your wall sticker, wipe the wall gently with a clean, dry cloth to remove dust. If the wall needs more cleaning, use a very mild solution and let the surface dry completely before applying anything.
Do not apply a sticker to a wall that feels damp, cold or recently cleaned. Moisture can interfere with the adhesive and make bubbles or lifting more likely. The wall should be completely dry before the vinyl touches it.
It is also worth checking the area from a few angles. Sometimes small bumps, old paint marks or uneven patches only show up when the light hits the wall. If the surface looks rough or damaged, choose another spot if possible.
Plan the position before peeling the backing
One of the easiest ways to avoid mistakes is to position the wall sticker before peeling anything away. Hold the design against the wall and step back. Check it from the doorway, from bed height, from the desk chair or from wherever the sticker will be seen most often.
For larger designs, use masking tape to create a temporary guide. You can tape the top edge in place, check alignment, then make adjustments before applying. This is especially useful above beds, desks, shelves or furniture where a slightly crooked sticker will be easy to notice.
Do not rely only on eye level while standing close to the wall. Step back and look at the whole room. A design can be technically level but still feel awkward if it does not line up well with the furniture below it.

Use the hinge method for larger wall stickers
For medium and larger designs, the hinge method can make application much easier. This means using masking tape to hold the sticker in position while you apply it gradually.
Start by placing the sticker on the wall with the backing paper still attached. Once you are happy with the position, apply a strip of masking tape along the top edge or down the centre, depending on the shape of the design. This creates a hinge that keeps the sticker aligned while you work.
Then peel back part of the backing paper, keeping the vinyl and transfer layer controlled. Smooth the sticker onto the wall slowly, working from the hinge outward. Do not rush. The slower you work, the easier it is to push air out before it gets trapped.
This method is especially useful for name stickers, quote stickers and designs with several thin pieces because it helps keep everything lined up.
Smooth from the centre outward
The most important bubble-prevention tip is to smooth from the centre outward. This pushes air toward the edges instead of trapping it under the vinyl.
Use a squeegee, soft cloth, bank card wrapped in a cloth or another smooth flat tool. Press firmly but not aggressively. The aim is to guide the vinyl onto the wall, not scrape or stretch it.
Work in small sections. Smooth a little, peel a little more backing away, then smooth again. If you peel the whole backing off at once, the sticker is more likely to fold, stick to itself or trap air before you can control it.
For text and quote designs, take particular care around thin letters and small details. These areas need steady pressure so each part of the design bonds properly to the wall.
Take extra care with quote and text wall stickers
Quote wall stickers can look brilliant, but they do need careful positioning. Because the design is based on words and lines, any uneven spacing or tilt is more noticeable than it would be with a simple shape.
Before applying a quote sticker, use a light pencil mark or masking tape guide if needed. Check the design against nearby furniture, picture rails, shelves or the top of a desk. Even a small slope can stand out once the words are on the wall.
If you are decorating a bedroom, kitchen, hallway or home office, browse our quote wall stickers for designs that can create a strong feature without taking up floor space. Just give yourself enough time to apply them patiently.

Peel the transfer layer slowly
After smoothing the sticker onto the wall, do not rush to remove the transfer layer. Press over the design again first, especially around smaller details, points, thin lines and lettering.
Then peel the transfer layer back slowly at a low angle. Do not pull it straight out from the wall. A low, slow peel gives the vinyl the best chance to stay attached to the surface.
If part of the sticker lifts with the transfer layer, stop and press it back down. Smooth that area again, then continue peeling slowly. This is normal with delicate details and does not mean anything has gone wrong.
What to do if small bubbles appear
Small bubbles are not always a disaster. In some cases, tiny air pockets settle naturally after the sticker has had time to bond to the wall. If you notice a few small bubbles just after applying, wait a little before doing anything dramatic.
If a bubble is near the edge, gently smooth it toward the outside of the design. Use steady pressure and work slowly. Do not dig into the vinyl or push so hard that the sticker stretches.
For a stubborn bubble in the middle of a design, you can sometimes release the air with a very small pin prick, then smooth the vinyl flat. Only do this carefully and only when needed. The goal is to release trapped air, not damage the design.
Common mistakes that cause bubbles
Most application problems come from rushing. Wall stickers are simple to apply, but they still need a little patience.
- Applying to a dusty, damp or textured wall.
- Using a freshly painted wall before the paint has cured.
- Peeling away all the backing paper too soon.
- Pressing from the edges inward instead of centre outward.
- Removing the transfer layer too quickly.
- Trying to reposition delicate pieces after they have bonded.
- Applying near direct heat, damp areas or poor paintwork.
Avoiding these mistakes will give you a much better chance of a clean, bubble-free finish.
Are personalised wall stickers harder to apply?
Personalised name wall stickers are not necessarily harder to apply, but they do reward careful positioning. Because names are usually placed above beds, cots, doors or reading corners, alignment matters.
Before applying, check the design against the furniture below it and make sure the spacing feels balanced. For longer names, use masking tape as a guide and smooth the design gradually from the centre outward.
Take particular care with thin letters, dots, flourishes or small decorative pieces. These areas may need extra smoothing before the transfer layer is removed.
Should you apply wall stickers by yourself?
Smaller wall stickers are usually fine to apply alone. For larger designs, long quotes or personalised names, having a second person can help. One person can hold the design steady while the other checks alignment and smooths the vinyl.
If you are applying above a bed, desk or cot, move small items out of the way first. Give yourself space to step back and check the position before committing. Trying to apply a large design while leaning over furniture is a great way to make the job harder than it needs to be.
Frequently asked questions
How do I stop bubbles when applying wall stickers?
Apply the sticker to a smooth, clean, dry wall and work slowly from the centre outward. Use a soft cloth, squeegee or wrapped card to push air toward the edges as you apply. Avoid peeling off all the backing paper at once.
Can I fix bubbles after applying a wall sticker?
Small bubbles can often be smoothed toward the edge. Some tiny air pockets may settle naturally. For stubborn bubbles, a very small pin prick can release trapped air, but this should be done carefully and only when needed.
Why is my wall sticker lifting at the edges?
Edge lifting can happen if the wall is dusty, damp, textured, freshly painted or poorly prepared. It can also happen near heat sources or on paint that has poor adhesion. Smooth, clean, dry painted walls give the best result.
Can I apply wall stickers to freshly painted walls?
It is best to wait until paint has fully cured before applying wall stickers. Paint can feel dry before it is ready for adhesive vinyl. Applying too soon can affect adhesion and may make future removal more difficult.
Do I need special tools to apply wall stickers?
No specialist tools are usually needed. A clean cloth, masking tape and a smooth card or squeegee are normally enough. Larger designs may be easier with two people, especially if the sticker needs careful alignment.
Final tips for a smooth finish
The best way to apply wall stickers without bubbles is to slow down. Prepare the wall, plan the position, use masking tape if needed, smooth from the centre outward and peel the transfer layer carefully.
Wall stickers are designed to make decorating easier, not more stressful. With a little patience, you can create a clean feature wall in a bedroom, nursery, playroom, kitchen, hallway or home office without paint or wallpaper.
If you are still deciding which design is right for your space, read our buying guide or browse our wall stickers, personalised name wall stickers and quote wall stickers before you start.